


I know you want to have a scoop of creamy, dreamy ice cream but don’t want to deal with fancy gadgets or complicated recipes, you’re in the right place.
Today, I’m sharing the simplest way to make ice cream at home, no ice cream maker required.
This no-churn method is perfect for beginners or anyone short on time, delivering results that taste just like the real deal.
We’ll walk through everything step by step, so you can whip up your own batch, let’s start!
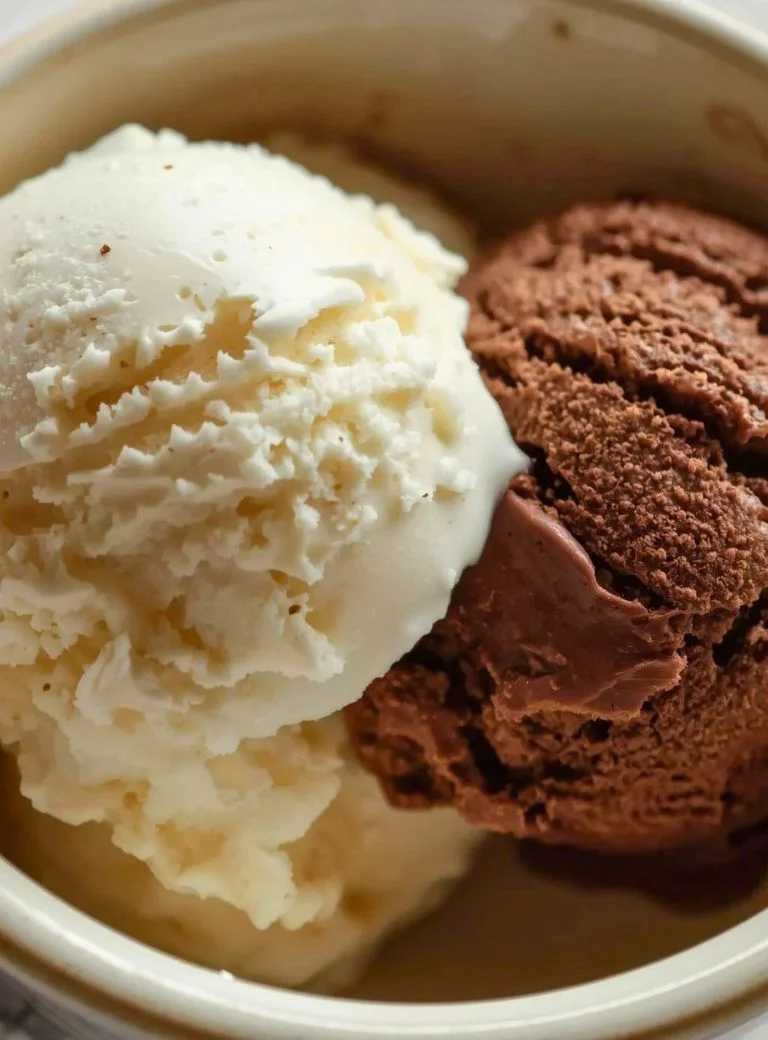
Why This Homemade Ice Cream is the Best?
For starters, it’s incredibly easy, we’re talking about mixing a few ingredients and letting the freezer do the work.
Unlike store-bought versions loaded with preservatives and artificial flavors, this one lets you control exactly what goes in, from fresh fruits to your favorite mix-ins.
It’s fresher, customizable, and often cheaper in the long run.
Plus, the texture is surprisingly smooth and velvety, thanks to the magic of whipped cream and condensed milk, which trap air and prevent ice crystals from forming. I’ve tried churning methods before, but this one wins for sheer convenience; you can have it ready to eat in just a few hours of freezing time. And honestly, nothing beats the satisfaction of scooping into something you made yourself—it’s like a little victory in the kitchen.
Ingredients:
For a basic vanilla ice cream that serves about 6-8 people (roughly 1 quart), you’ll need:
- 2 cups heavy whipping cream (cold, for the best whip)
- 1 can (14 ounces) sweetened condensed milk
- 2 teaspoons pure vanilla extract (or vanilla bean paste for extra flavor)
- A pinch of salt (optional, but it enhances the sweetness)
That’s it for the base! Feel free to add mix-ins like chocolate chips, crushed cookies, or fruit purees, we’ll cover variations later.
How to Make Ice Cream Step by Step:
Step 1: Prep & Whip
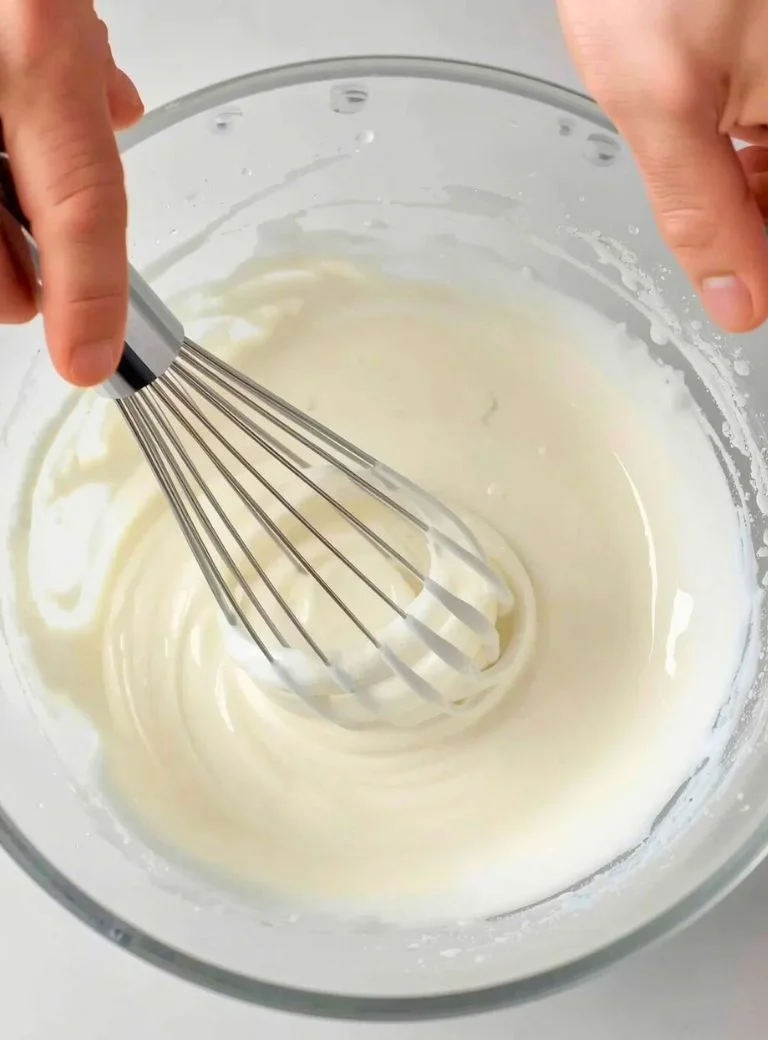
Start by chilling your mixing bowl and beaters in the freezer for about 15 minutes—this helps the cream whip up faster and fluffier. P
our the cold heavy whipping cream into the chilled bowl and use an electric mixer (or a whisk if you’re feeling energetic) to beat it on medium-high speed until stiff peaks form.
You’ll know it’s ready when the cream holds its shape and doesn’t flop over—usually takes 3-5 minutes. Be careful not to overwhip, or it’ll turn into butter!
Step 2: Mixing the Base
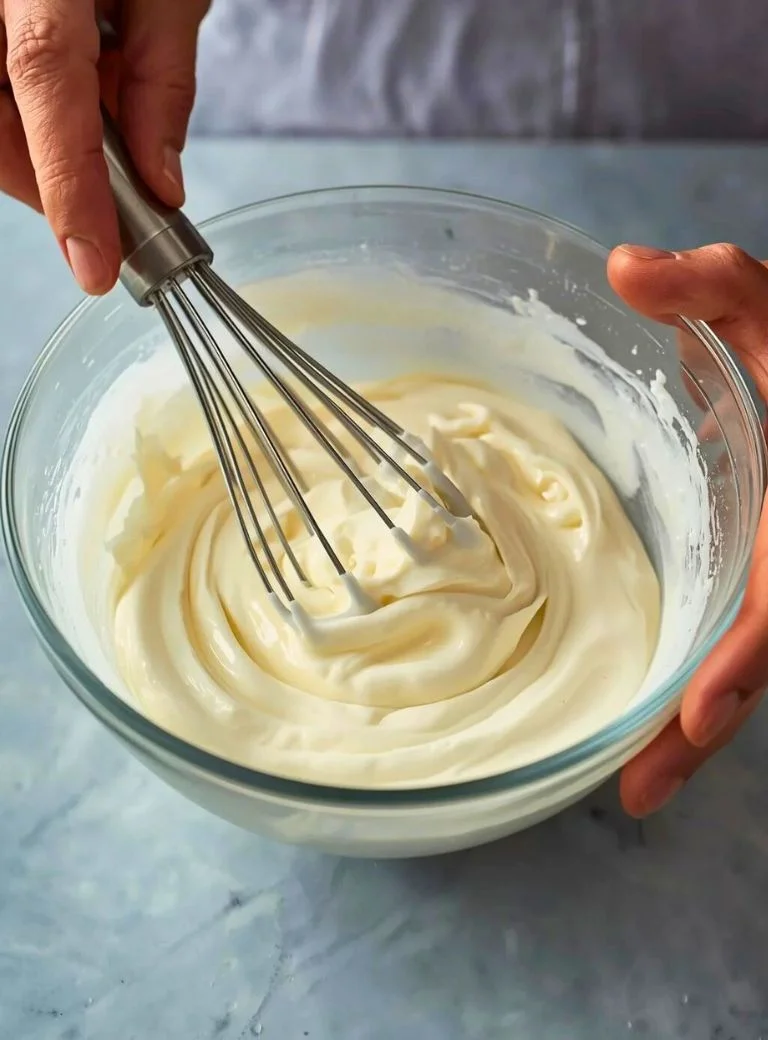
Next, in a separate bowl, stir together the sweetened condensed milk, vanilla extract, and that pinch of salt if you’re using it.
The condensed milk is the secret weapon here; it provides sweetness and creaminess without needing to cook a custard base like in traditional recipes. Gently fold the whipped cream into the condensed milk mixture using a spatula.
Do this in stages, add about a third of the whipped cream first to lighten the mixture, then fold in the rest.
The key is to be gentle so you don’t deflate all that air you just whipped in; think of it like folding a delicate omelet. If you’re adding any basic mix-ins, like a handful of chocolate chips, stir them in now.
Step 3: Freeze the Mixture
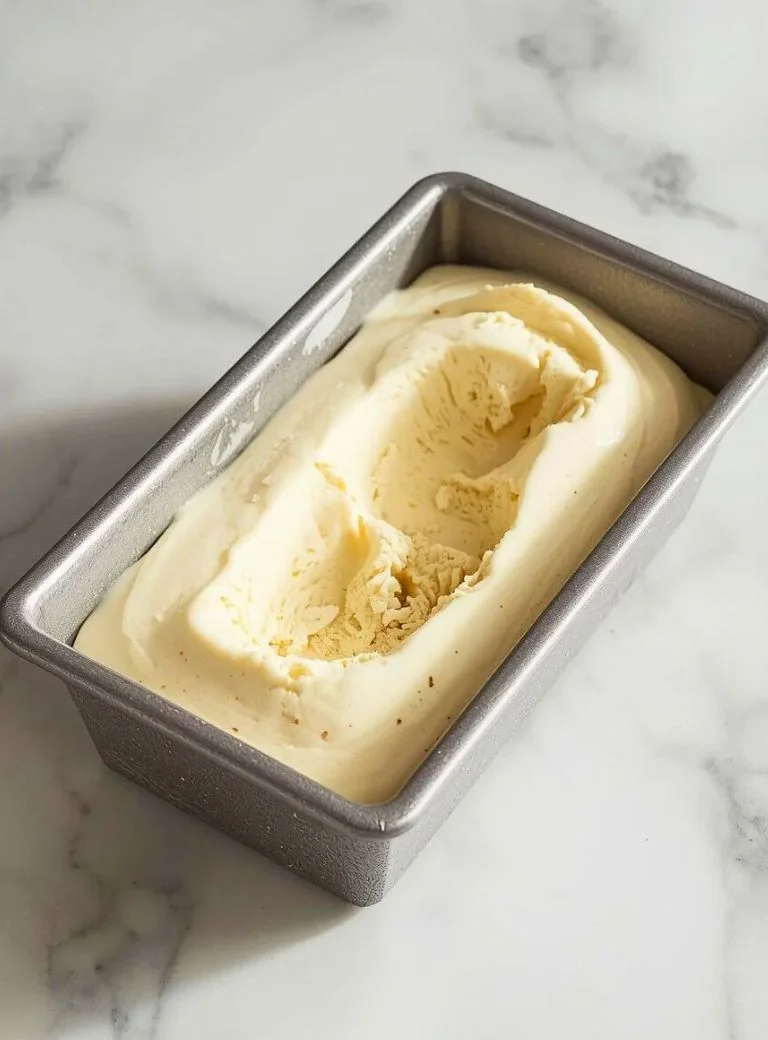
Once everything is combined into a smooth, airy batter, transfer it to a loaf pan or any freezer-safe container.
I like using a metal loaf pan because it conducts cold better, speeding up the freezing process. Cover it tightly with plastic wrap or a lid to prevent freezer burn, and pop it into the freezer.
Let it freeze for at least 4-6 hours, or overnight for the firmest texture. That’s really all there is to it!
The first time I tried this, I was skeptical because it seemed too simple, but after pulling it out and taking that first bite, I was hooked.
Step 4: Use These Pro Tips:
If you want to get a bit fancier without extra effort, you can layer in swirls during this step.
For example, dollop some fruit jam or caramel sauce into the mixture and use a knife to gently swirl it through before freezing. This creates beautiful ribbons of flavor that make each scoop exciting.
And if your kitchen is warm, work quickly to keep everything cold, warmth is the enemy of good whipped cream.
Remember to let it soften for 5-10 minutes at room temperature before scooping, as it freezes quite solid.
Variations for Homemade Ice Cream Without Churning
- For a chocolate version, stir in ½ cup of cocoa powder to the condensed milk mixture before folding in the cream.
- If you’re a coffee lover, dissolve 2 tablespoons of instant coffee in a splash of hot water and mix it in for a mocha twist (after cooling it down, do not put hot coffee in it).
- Puree fresh strawberries or raspberries (about 1 cup) and fold them in gently to avoid deflating the whip; strain out seeds if you prefer a smoother texture.
- Toast some almonds or pecans, chop them up, and add them as mix-ins.
- For a cookies-and-cream vibe, crush Oreos and stir them through, about 10-15 cookies should do it.
- I’ve experimented with matcha powder once, mixing in 2 tablespoons for a green tea flavor that paired perfectly with white chocolate chips.
- Swap in coconut cream for the heavy cream to make it dairy-free, though it whips a bit differently—chill the can overnight and use only the solid part.
- Or use low-fat condensed milk if you’re watching calories, but keep in mind it might not be as creamy.
- Winter calls for peppermint extract and crushed candy canes.
- Swirl in homemade or store-bought caramel sauce with a sprinkle of sea salt.
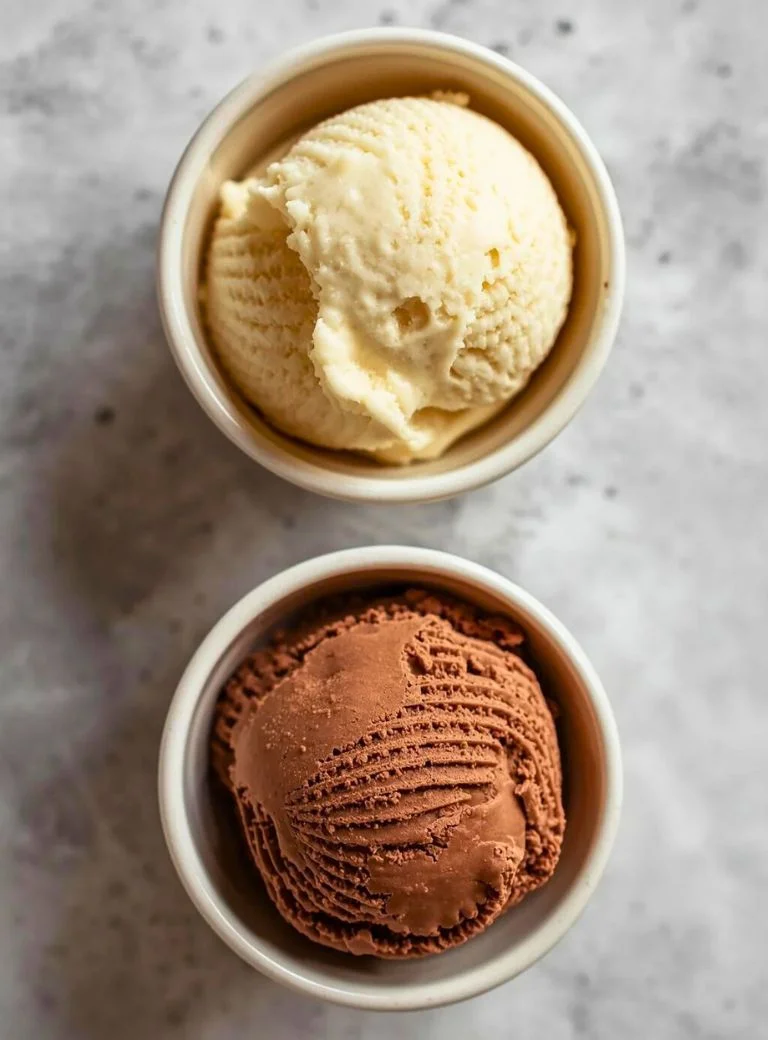
How to Store Homemade Ice Cream?
Storing your homemade ice cream properly keeps it tasting fresh and prevents those pesky ice crystals.
Once it’s fully frozen, it can last in the freezer for up to 2 weeks, though it’s best eaten within the first week for optimal creaminess.
Use an airtight container to minimize air exposure, I prefer glass or metal over plastic because they don’t absorb odors.
Press a piece of parchment paper or plastic wrap directly onto the surface before sealing the lid; this creates a barrier against freezer burn.
If you notice it getting too hard after a few days, that’s normal, just let it sit out for a bit before serving.
For longer storage, portion it into smaller containers so you’re not thawing the whole batch each time.
Conclusion
There you have it—the easiest way to make homemade ice cream that’s sure to become a staple in your kitchen.
From the simple base to endless variations, this no-churn method proves that great results don’t require complicated tools or hours of effort.
Whether you’re treating yourself after a long day or sharing with loved ones, it’s all about that joy of creating something delicious from scratch. Give it a try, experiment with flavors, and let me know in the comments what your favorite twist is.
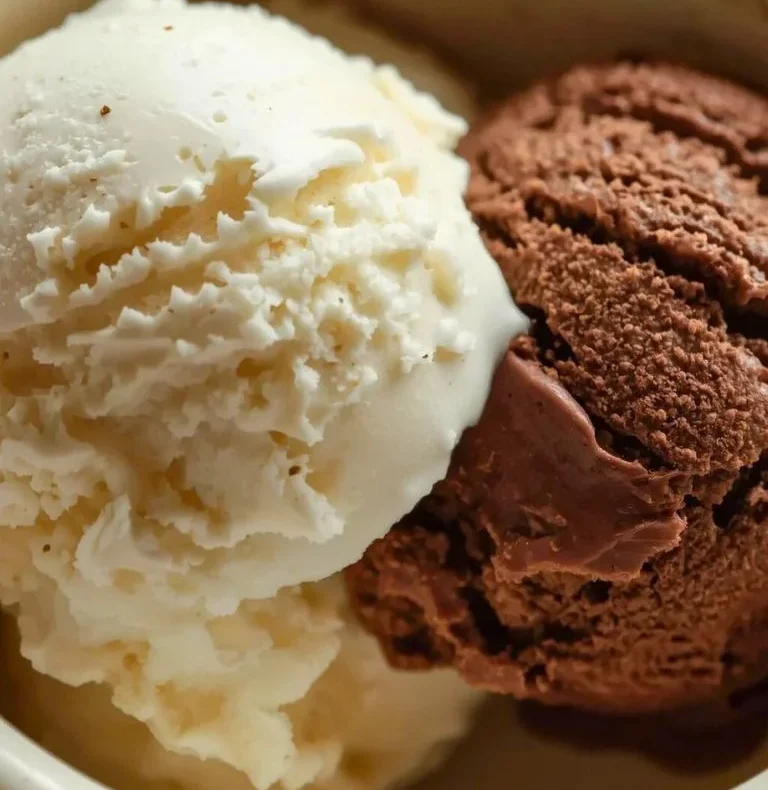
Homemade No-Churn Vanilla Ice Cream
Ingredients
Equipment
Method
- Chill your mixing bowl and beaters in the freezer for 15 minutes to help the cream whip faster.
- Pour the cold heavy whipping cream into the chilled bowl and beat with an electric mixer on medium-high speed until stiff peaks form (about 3-5 minutes); avoid overwhipping.
- In a separate bowl, mix the sweetened condensed milk, vanilla extract, and optional pinch of salt until combined.
- Gently fold one-third of the whipped cream into the condensed milk mixture to lighten it, then fold in the remaining whipped cream carefully to maintain airiness.
- Transfer the mixture to a loaf pan or freezer-safe container, cover tightly with plastic wrap or a lid.
- Freeze for at least 4-6 hours or overnight until firm.
- Let soften at room temperature for 5-10 minutes before scooping and serving.
Notes
About The Author




nice information and good article thank you
thank you <3